A Step-by-Step Guide to Wrapping Your Own Furniture for an Upcoming Move
Wrapping Furniture for an Upcoming Move
Step 1: Gather Your Supplies
Before you start, make sure you have all the necessary supplies:
- Moving blankets or pads: These provide a thick layer of protection for your furniture.
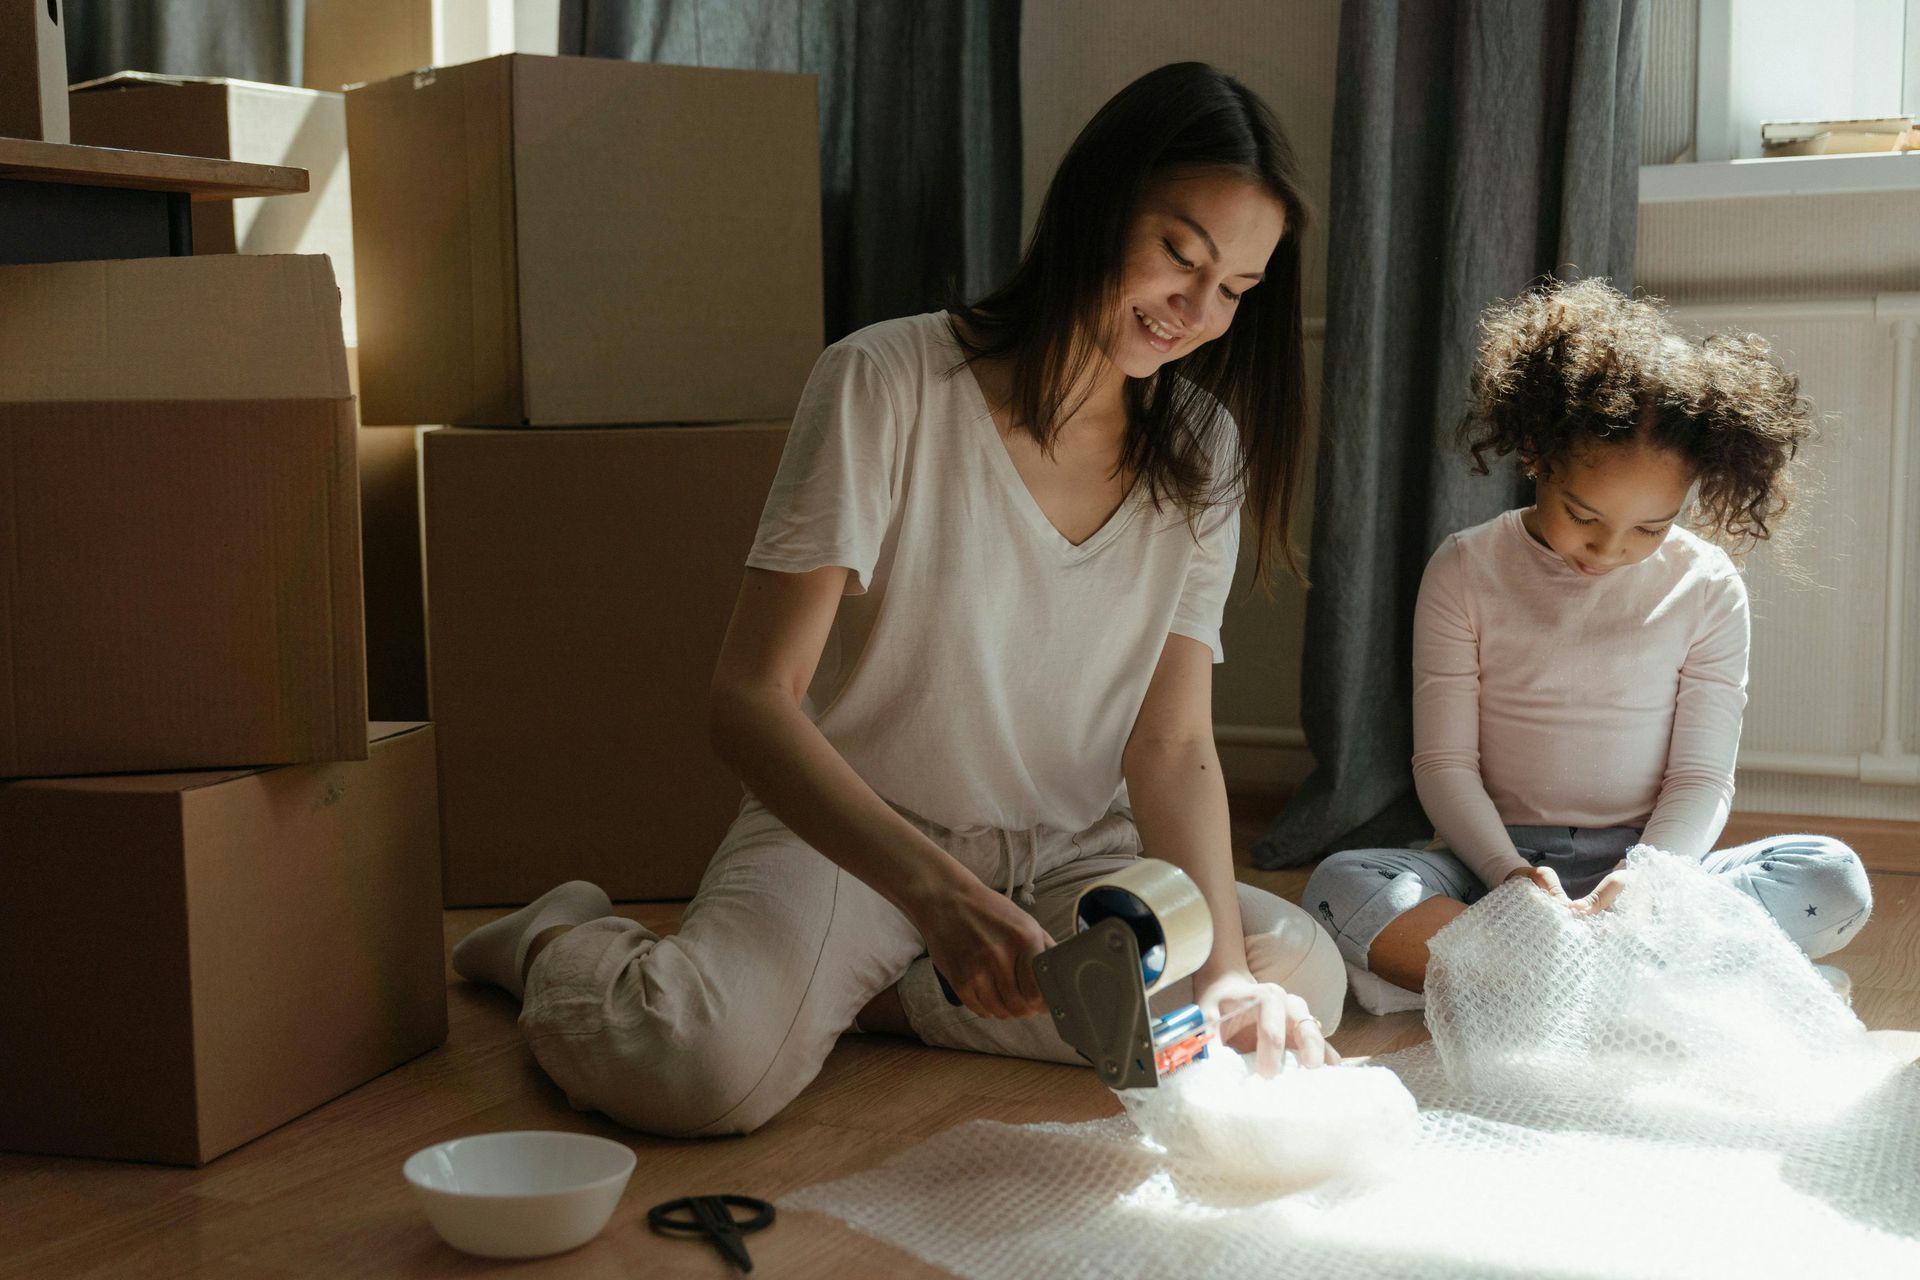
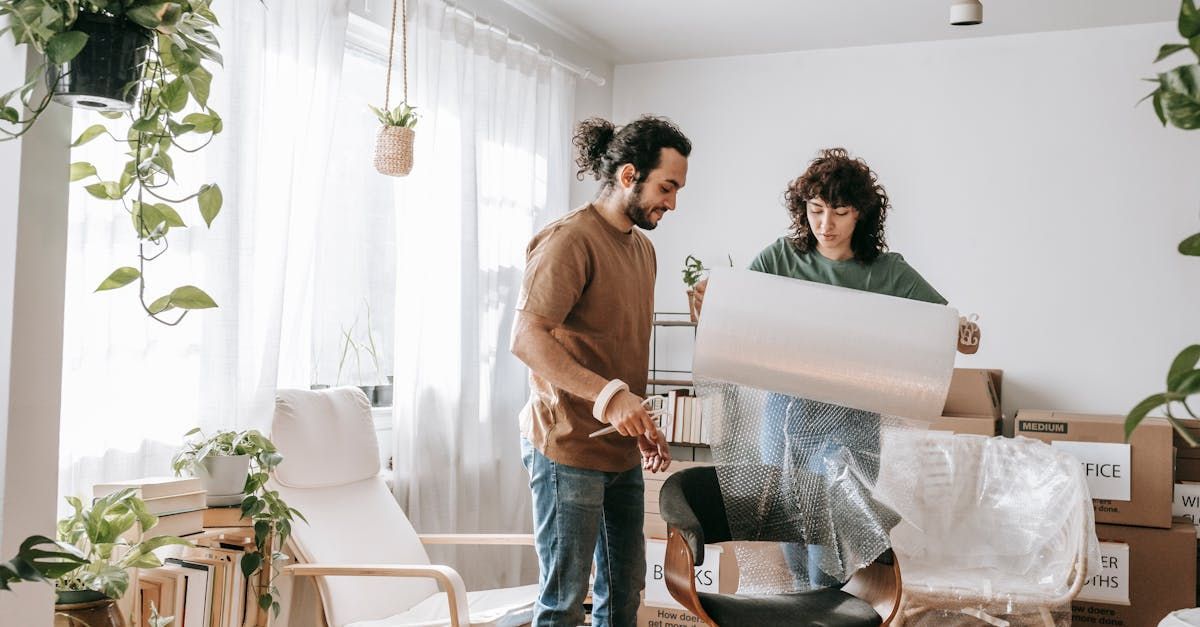
- Bubble wrap: Great for fragile items and extra padding.
- Plastic stretch wrap: Helps secure moving blankets and protect against dust and dirt.
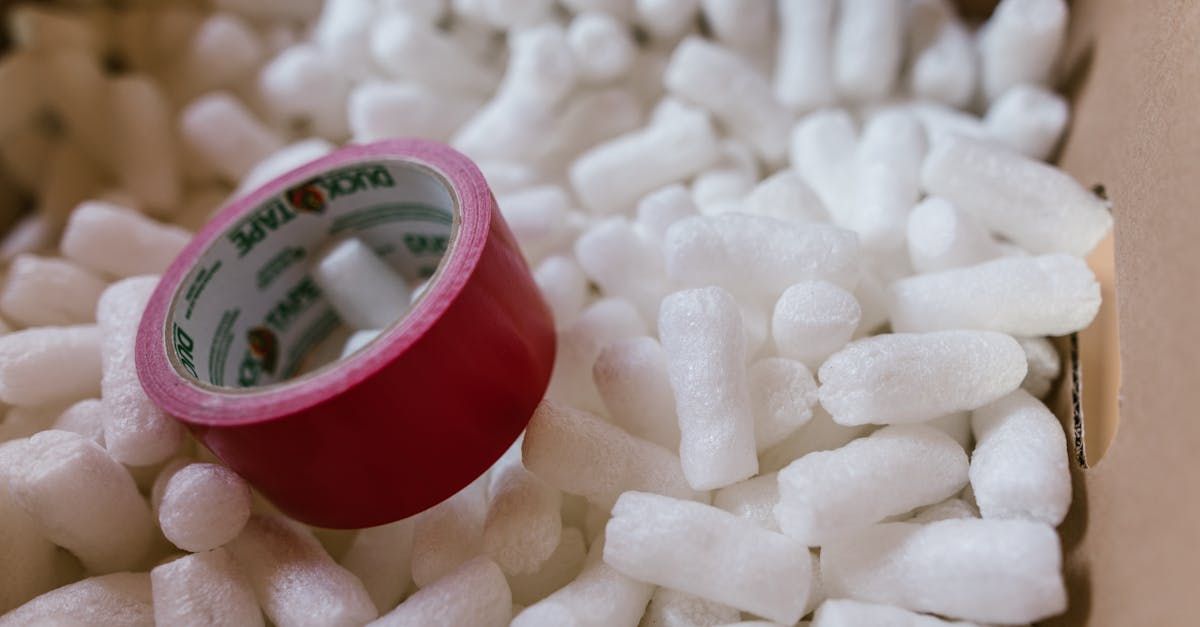
- Packing tape: For securing bubble wrap and stretch wrap.
- Furniture sliders: To move heavy pieces without scratching floors.
- Cardboard sheets: For added protection of delicate surfaces.
Step 2: Disassemble Where Possible
Disassembling your furniture makes it easier to wrap and transport. Remove legs from tables, detach cushions from sofas, and take apart bed frames. Keep all screws and small parts in labeled plastic bags so you can easily reassemble everything later.
Step 3: Clean and Dry Your Furniture
Wipe down all surfaces to remove dust and dirt. Make sure everything is dry before wrapping to prevent mold and mildew during transit.
Step 4: Protect Fragile Areas
For furniture with glass or delicate surfaces, use bubble wrap to cover these areas first. Secure the bubble wrap with packing tape, ensuring it is snug but not overly tight.
Step 5: Wrap with Moving Blankets
Moving blankets are your furniture's best friend. Here’s how to use them effectively:
- Cover large surfaces: Lay the blanket flat and place the furniture on top. Wrap the blanket around the piece, ensuring all sides are covered.
- Secure with tape: Use packing tape to keep the blanket in place. Avoid taping directly to the furniture to prevent damage.
- Double up if necessary: For particularly valuable or fragile pieces, consider using two blankets for extra protection.
Step 6: Use Plastic Stretch Wrap
Plastic stretch wrap helps keep everything in place and adds a layer of protection against dust and dirt. Here's how to apply it:
- Start at the bottom: Wrap the plastic around the base of the furniture.
- Work your way up: Continue wrapping in a spiral motion, making sure to overlap each layer.
- Secure the ends: Tuck the end of the plastic wrap under the last layer to keep it from unraveling.
Step 7: Use Cardboard for Extra Protection
For items with delicate surfaces like tabletops or mirrors, cut cardboard sheets to size and place them on the wrapped furniture. Secure the cardboard with tape or additional stretch wrap.
Step 8: Label Everything
Label each wrapped piece with its destination room and any special handling instructions. This will make unpacking much smoother and ensure movers know which items need extra care.
Step 9: Use Furniture Sliders
When it's time to move your wrapped furniture, use furniture sliders to avoid scratching floors and to make the process easier. Place the sliders under each corner of the piece and gently push it across the floor.
Step 10: Load Carefully
When loading the moving truck, place heavier items on the bottom and lighter, more fragile items on top. Use straps to secure furniture in place and prevent shifting during transit.
Conclusion
Wrapping your own furniture for a move can be a time-consuming task, but with the right supplies and techniques, you can protect your belongings and ensure they arrive at your new home in perfect condition. Remember, the key is to be thorough and take your time. Happy moving!
By following this guide, you’ll be well on your way to a smooth and successful move. If you have any questions or need professional assistance, don’t hesitate to reach out to S.B. Taylor Transport. We’re here to make your move as stress-free as possible!